Turning cacao fruits into cacao nibs is a rewarding process that transforms the raw beauty of tropical cacao into a crunchy, flavorful treat. In this guide, we'll explore each step, from harvesting the pods to enjoying the finished nibs.
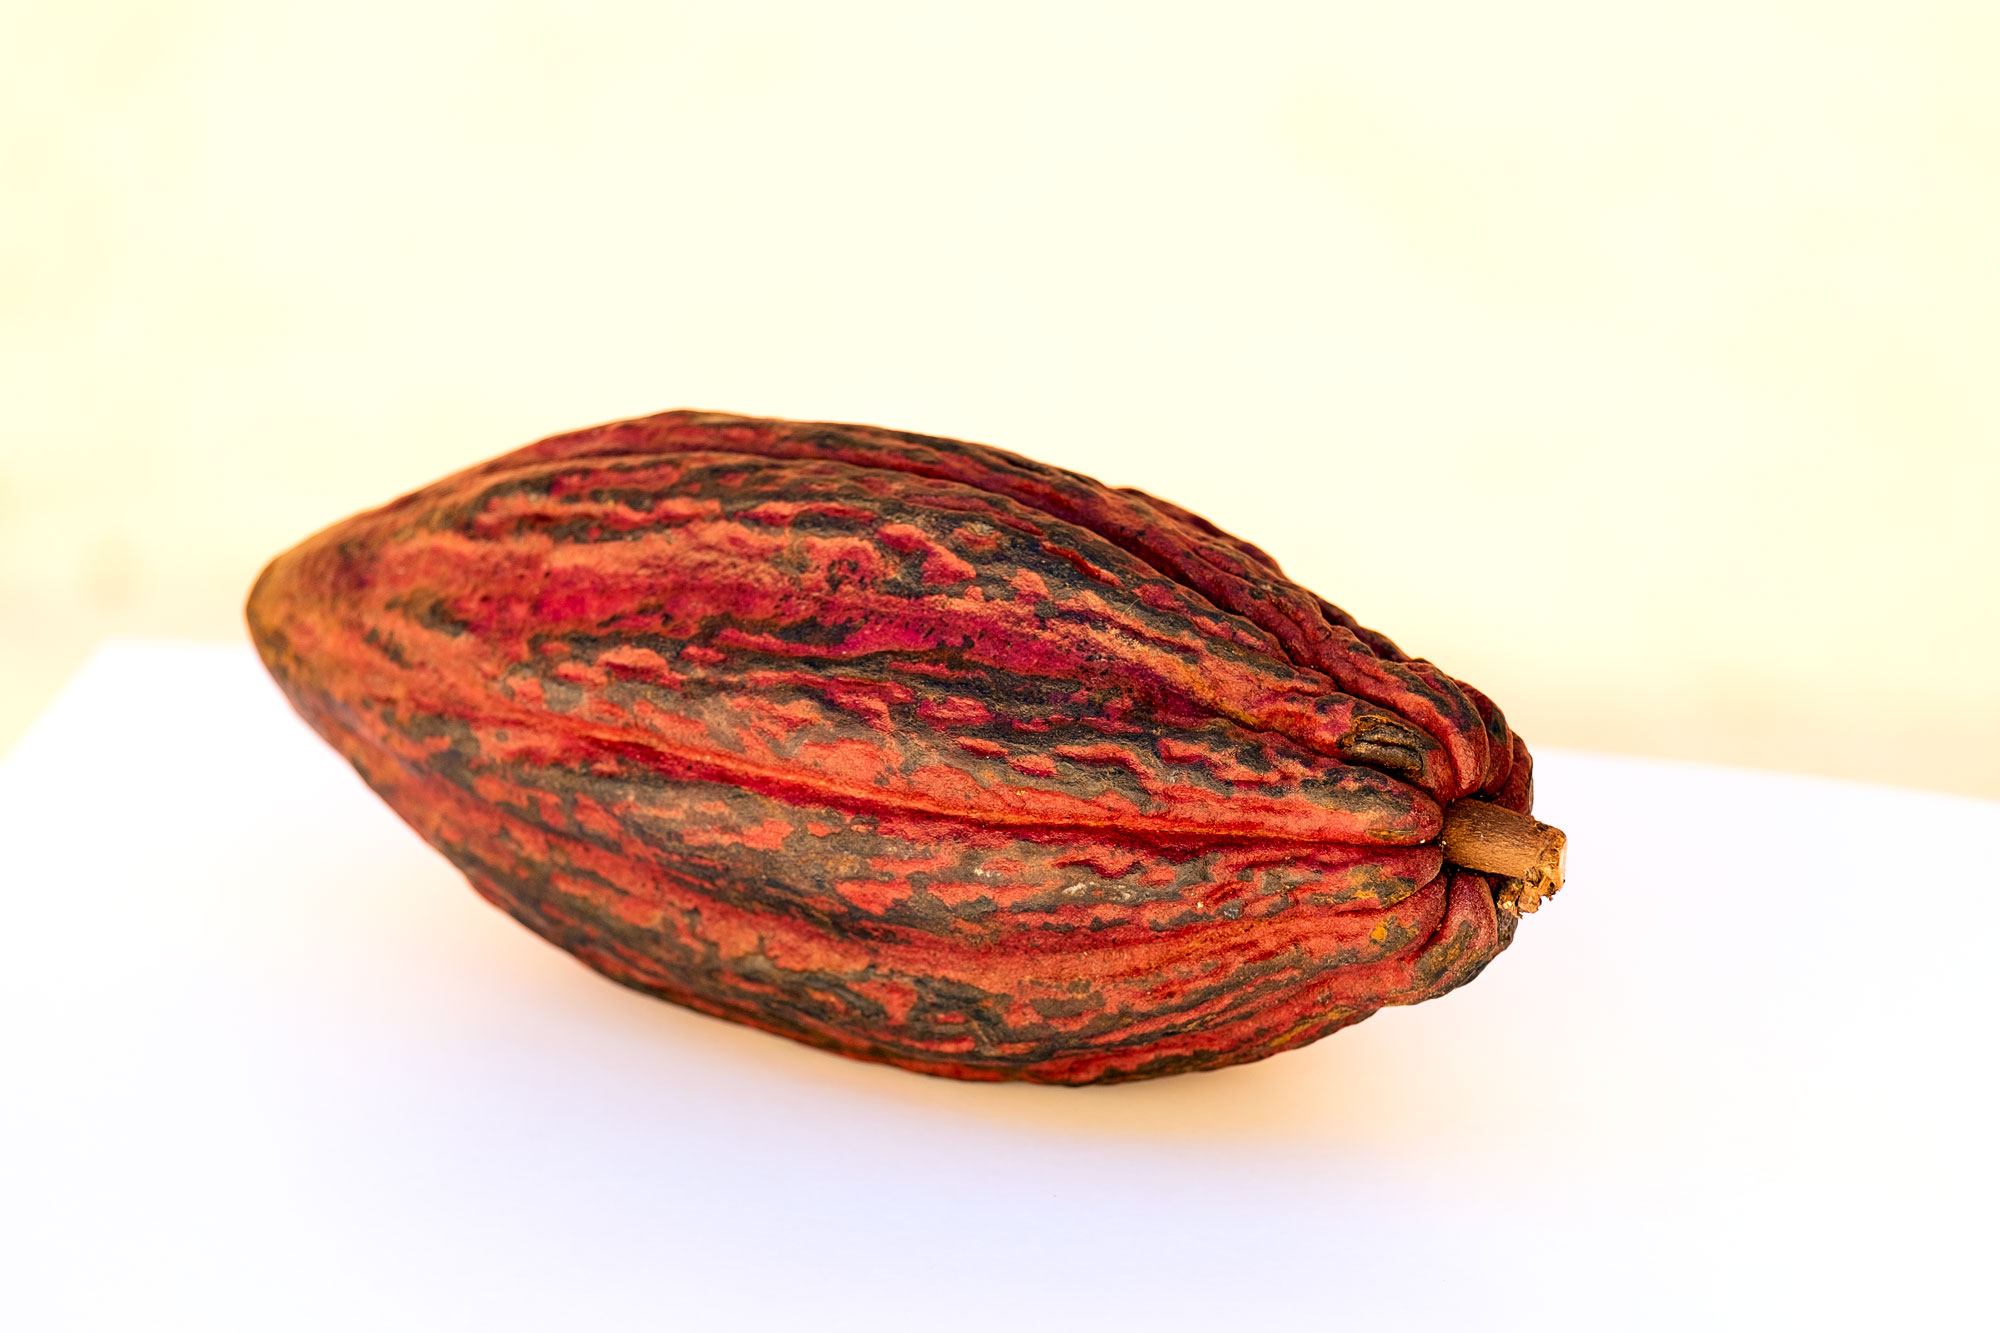
The journey begins with harvesting cacao fruits from the tree, which thrive in tropical regions like Brazil. When ripe, the cacao pods change color from green to yellow, orange, or red, depending on the variety. Cacao pods grow directly on the trunk of the tree, and they are carefully cut using a machete to avoid damaging the tree.
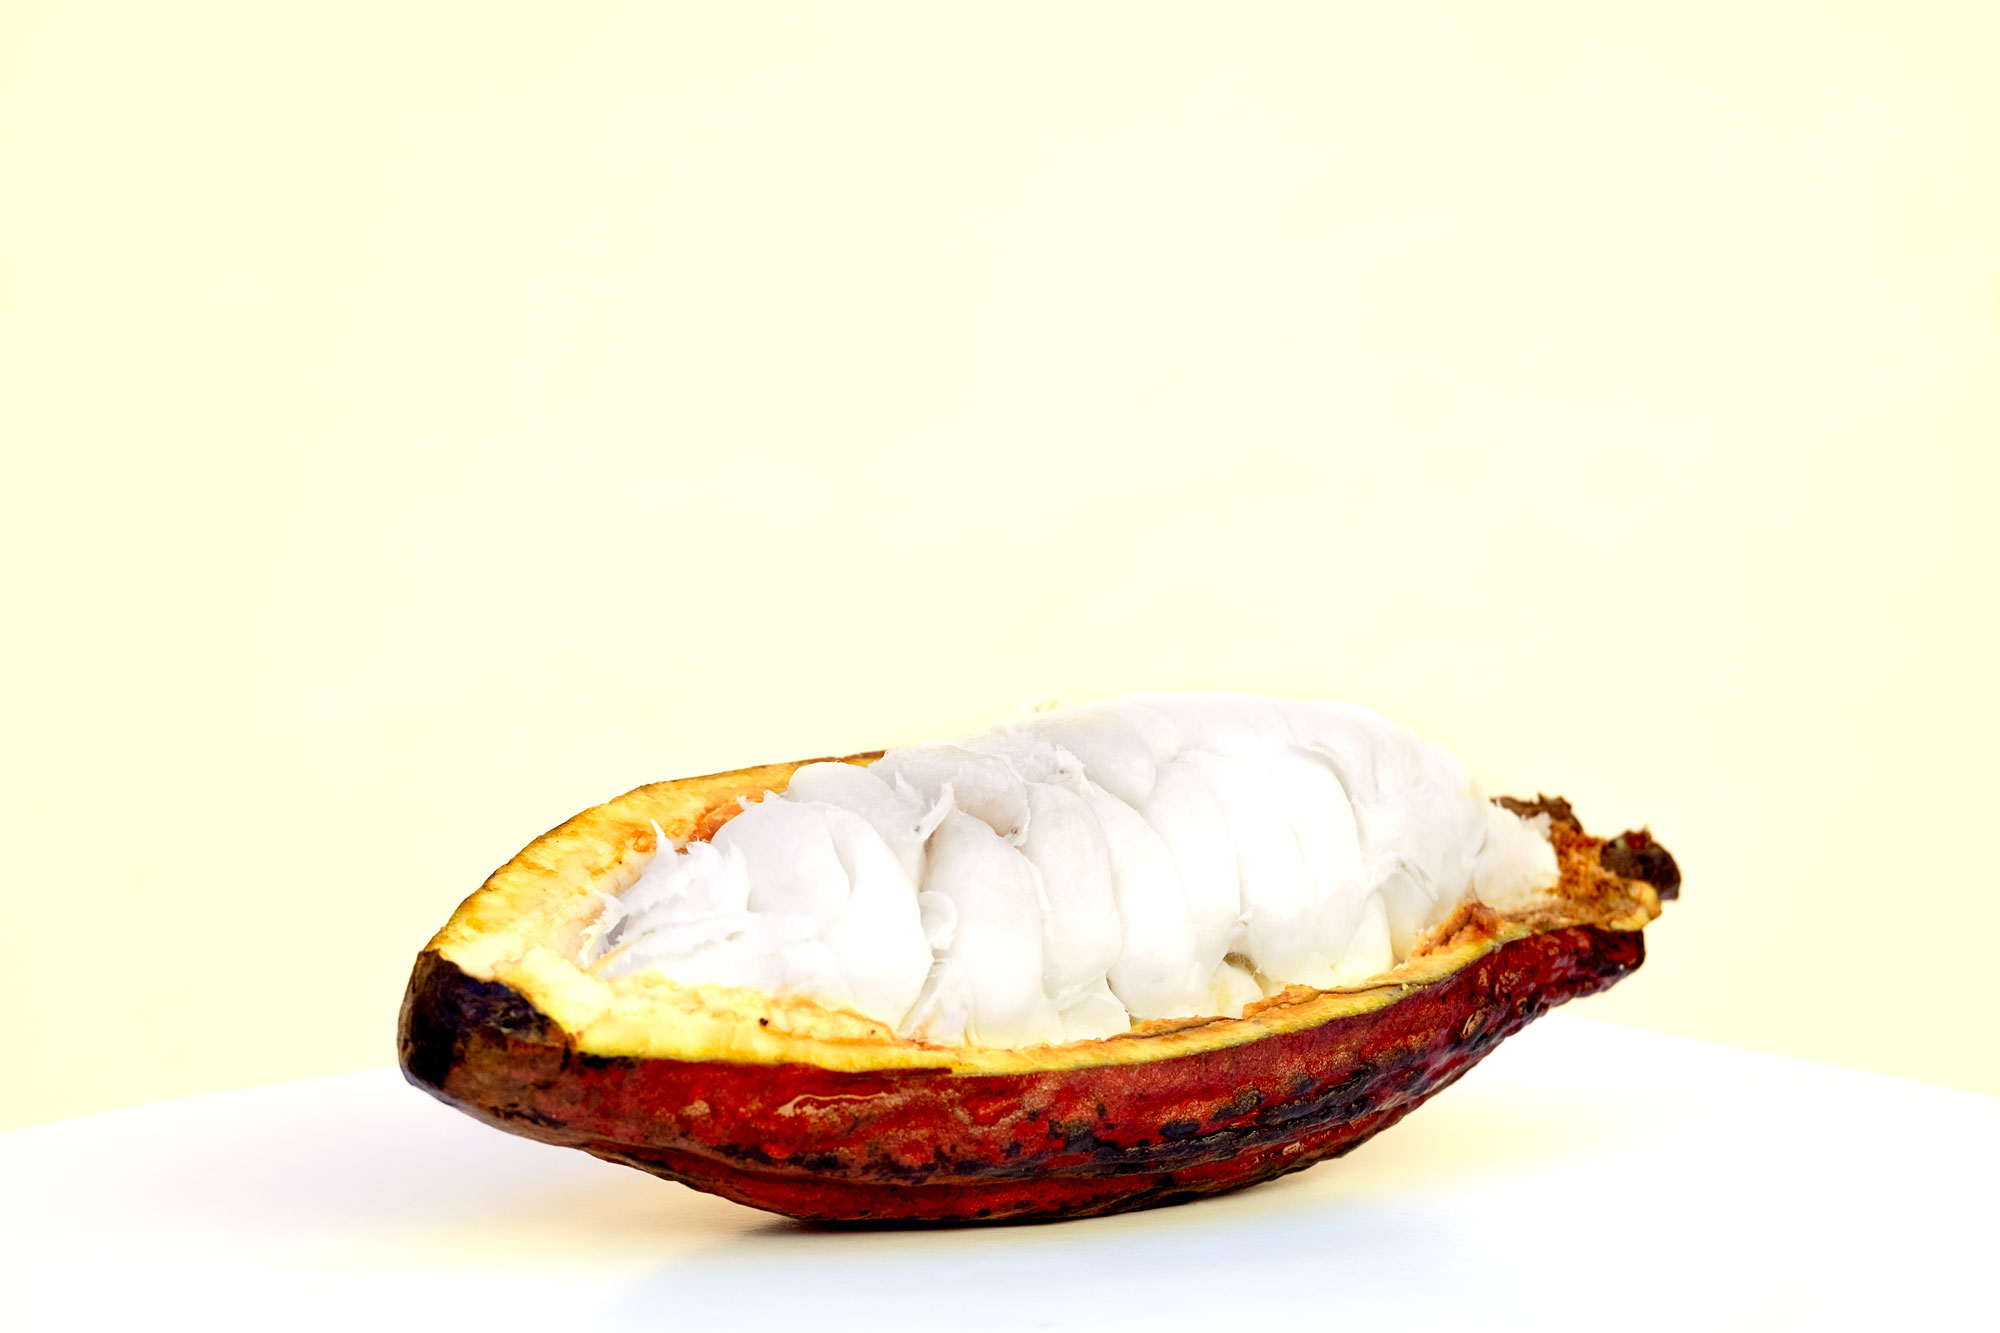
Inside each cacao pod, you’ll find 20-50 beans surrounded by a sweet, white pulp. The pulp is edible, but if you plan to ferment the beans, it’s best to leave most of it intact. Gently crack open the pod with a knife, being cautious not to harm the beans. The shell of the pod is similar to a pumpkin.
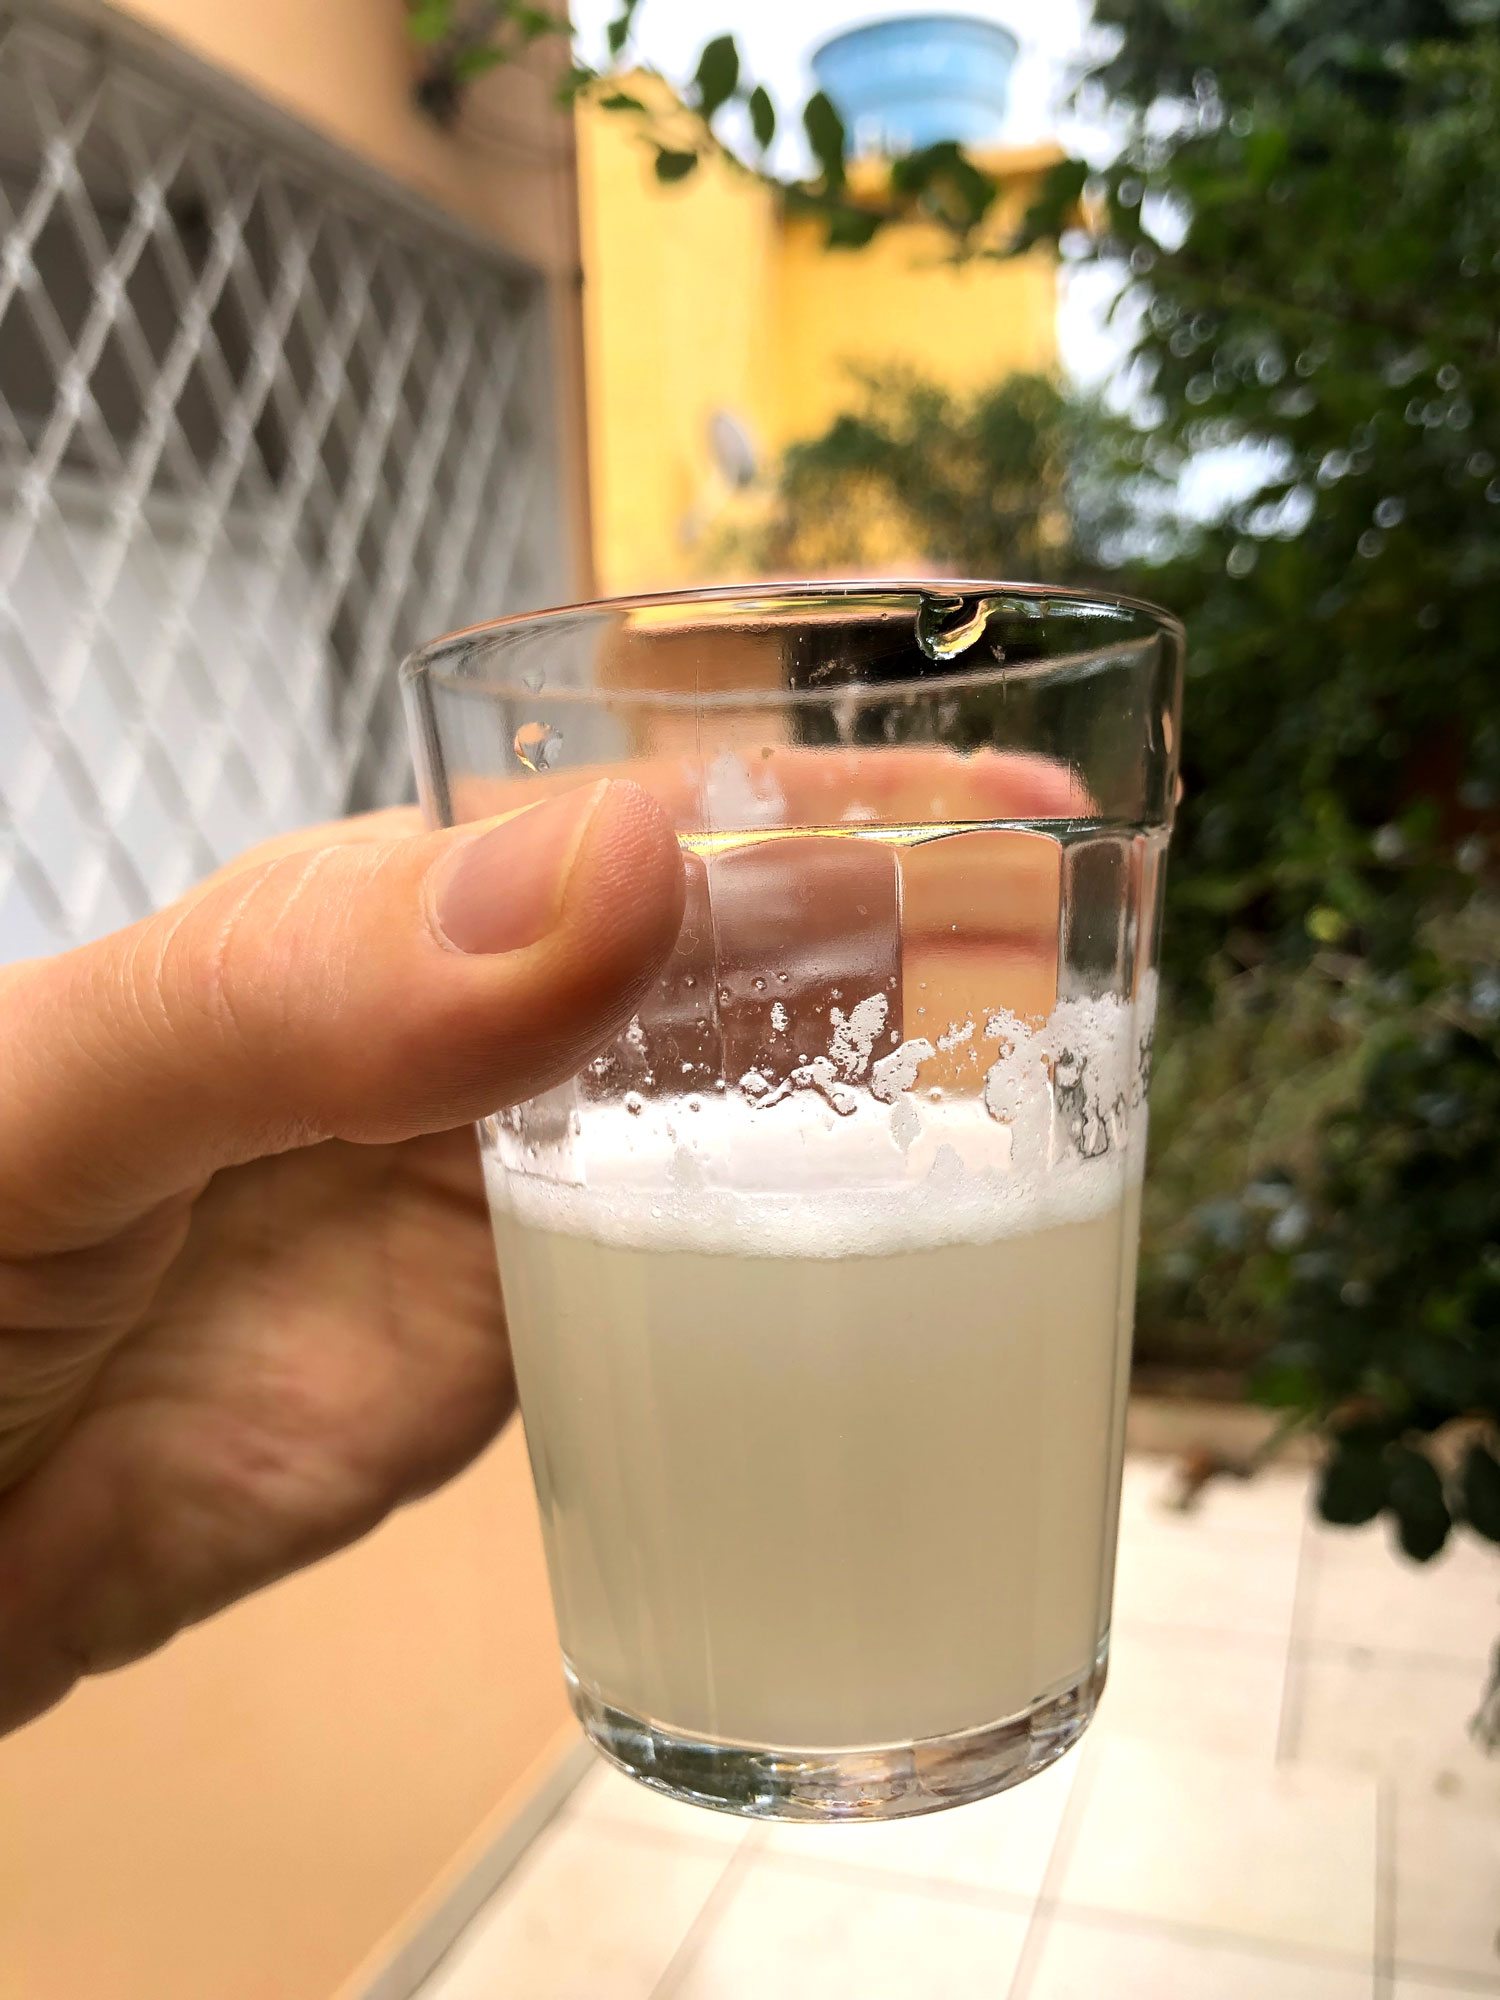
I drain the pulp along with the beans using a clean cotton cloth to make cacao juice — an amazing byproduct that tastes sweet and fruity.
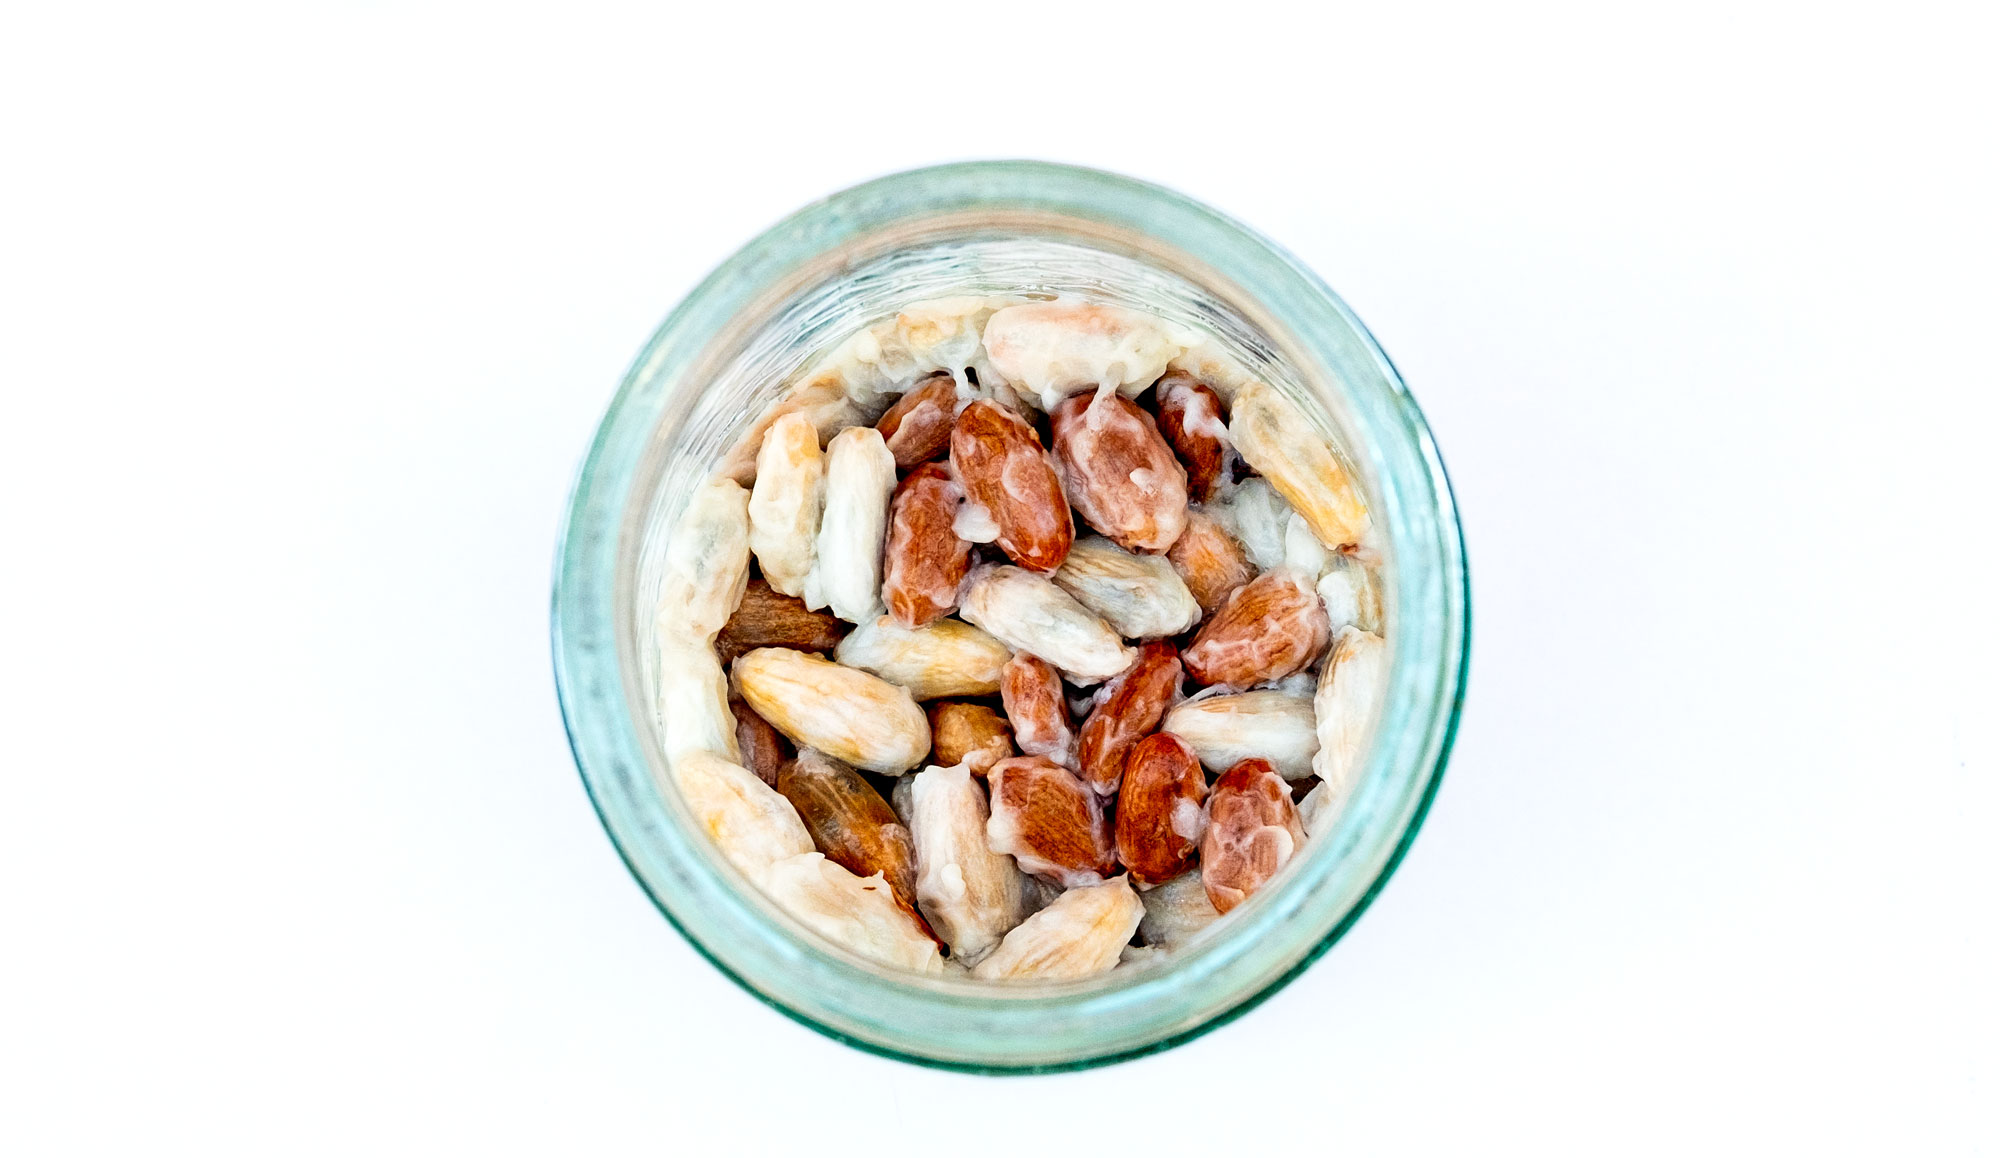
Fermentation is key to developing the rich flavor of cacao, usually taking about 5-7 days. Traditionally, the beans and pulp are placed in shallow wooden boxes or baskets and covered with banana leaves. However, if you’re trying this at home, I’ve found that a glass jar with a lid works well too. Simply leave it in a dark place and stir the beans every two days. Fermentation triggers a series of chemical reactions that enhance the complexity of the cacao flavor.
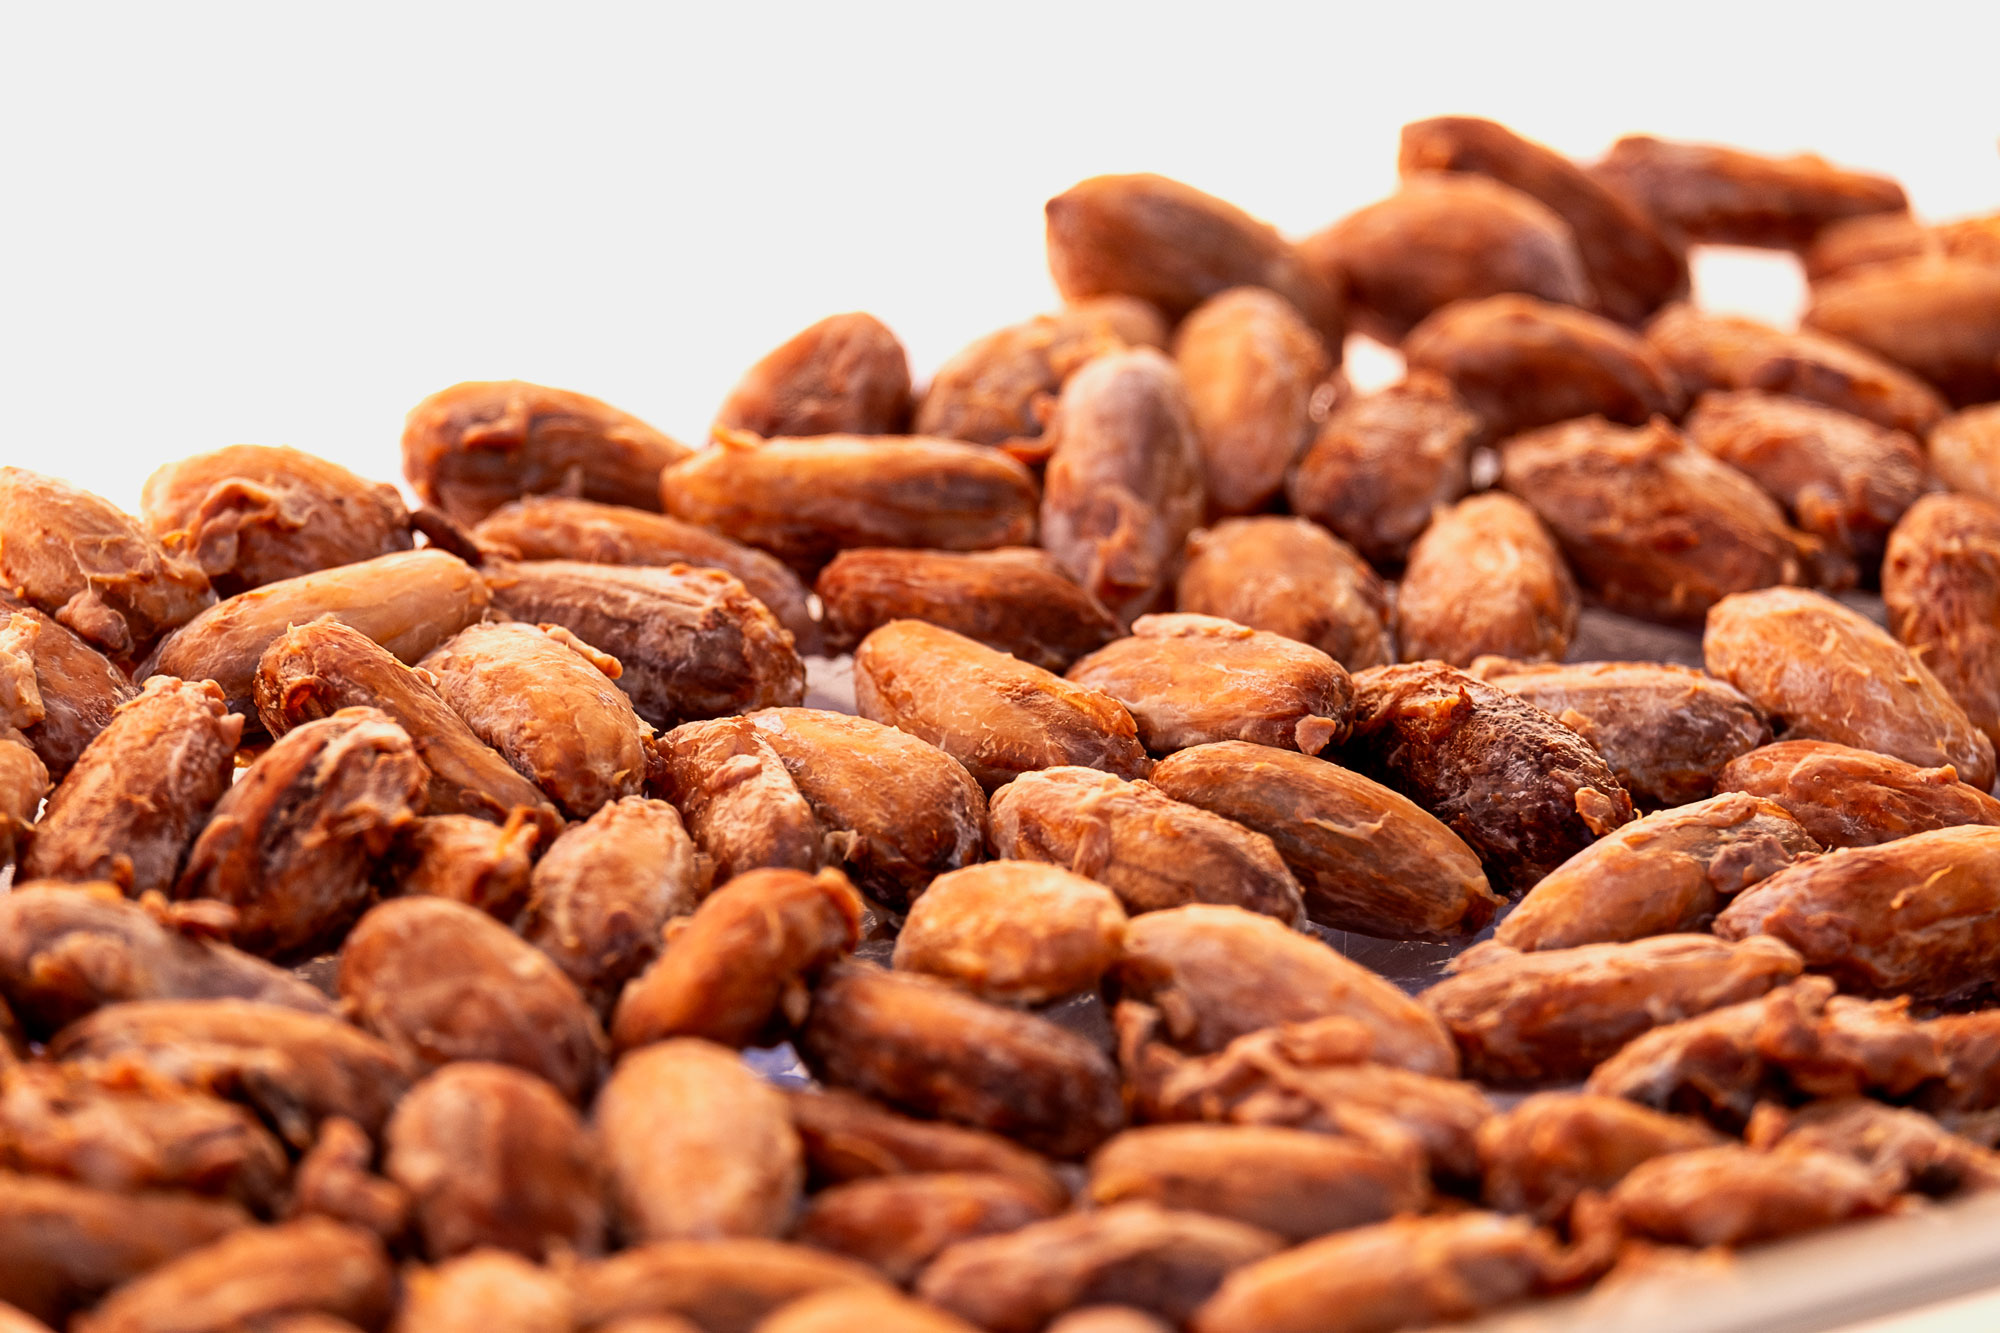
Once fermentation is complete, the beans need to be dried to lower their moisture content. Spread them in a single layer under the sun and stir regularly to ensure even drying, which can take between 2-5 days. Proper drying prevents mold growth and prepares the beans for roasting.
Roasting brings out the deeper flavors of cacao and makes the beans easier to crack. This step involves roasting the beans at temperatures between 120-150°C (250-300°F) for about 15-30 minutes. Roasting breaks down the bean’s structure, making it easier to remove the shell and access the cacao nibs.
After roasting, the beans need to be cracked and winnowed to remove the shell and separate the nibs. You can crack them manually, and for winnowing, blow air over the cracked beans with a hairdryer to separate the nibs from the lighter shells. I personally skip this process when making cacao juice but it’s essential for cacao nibs.
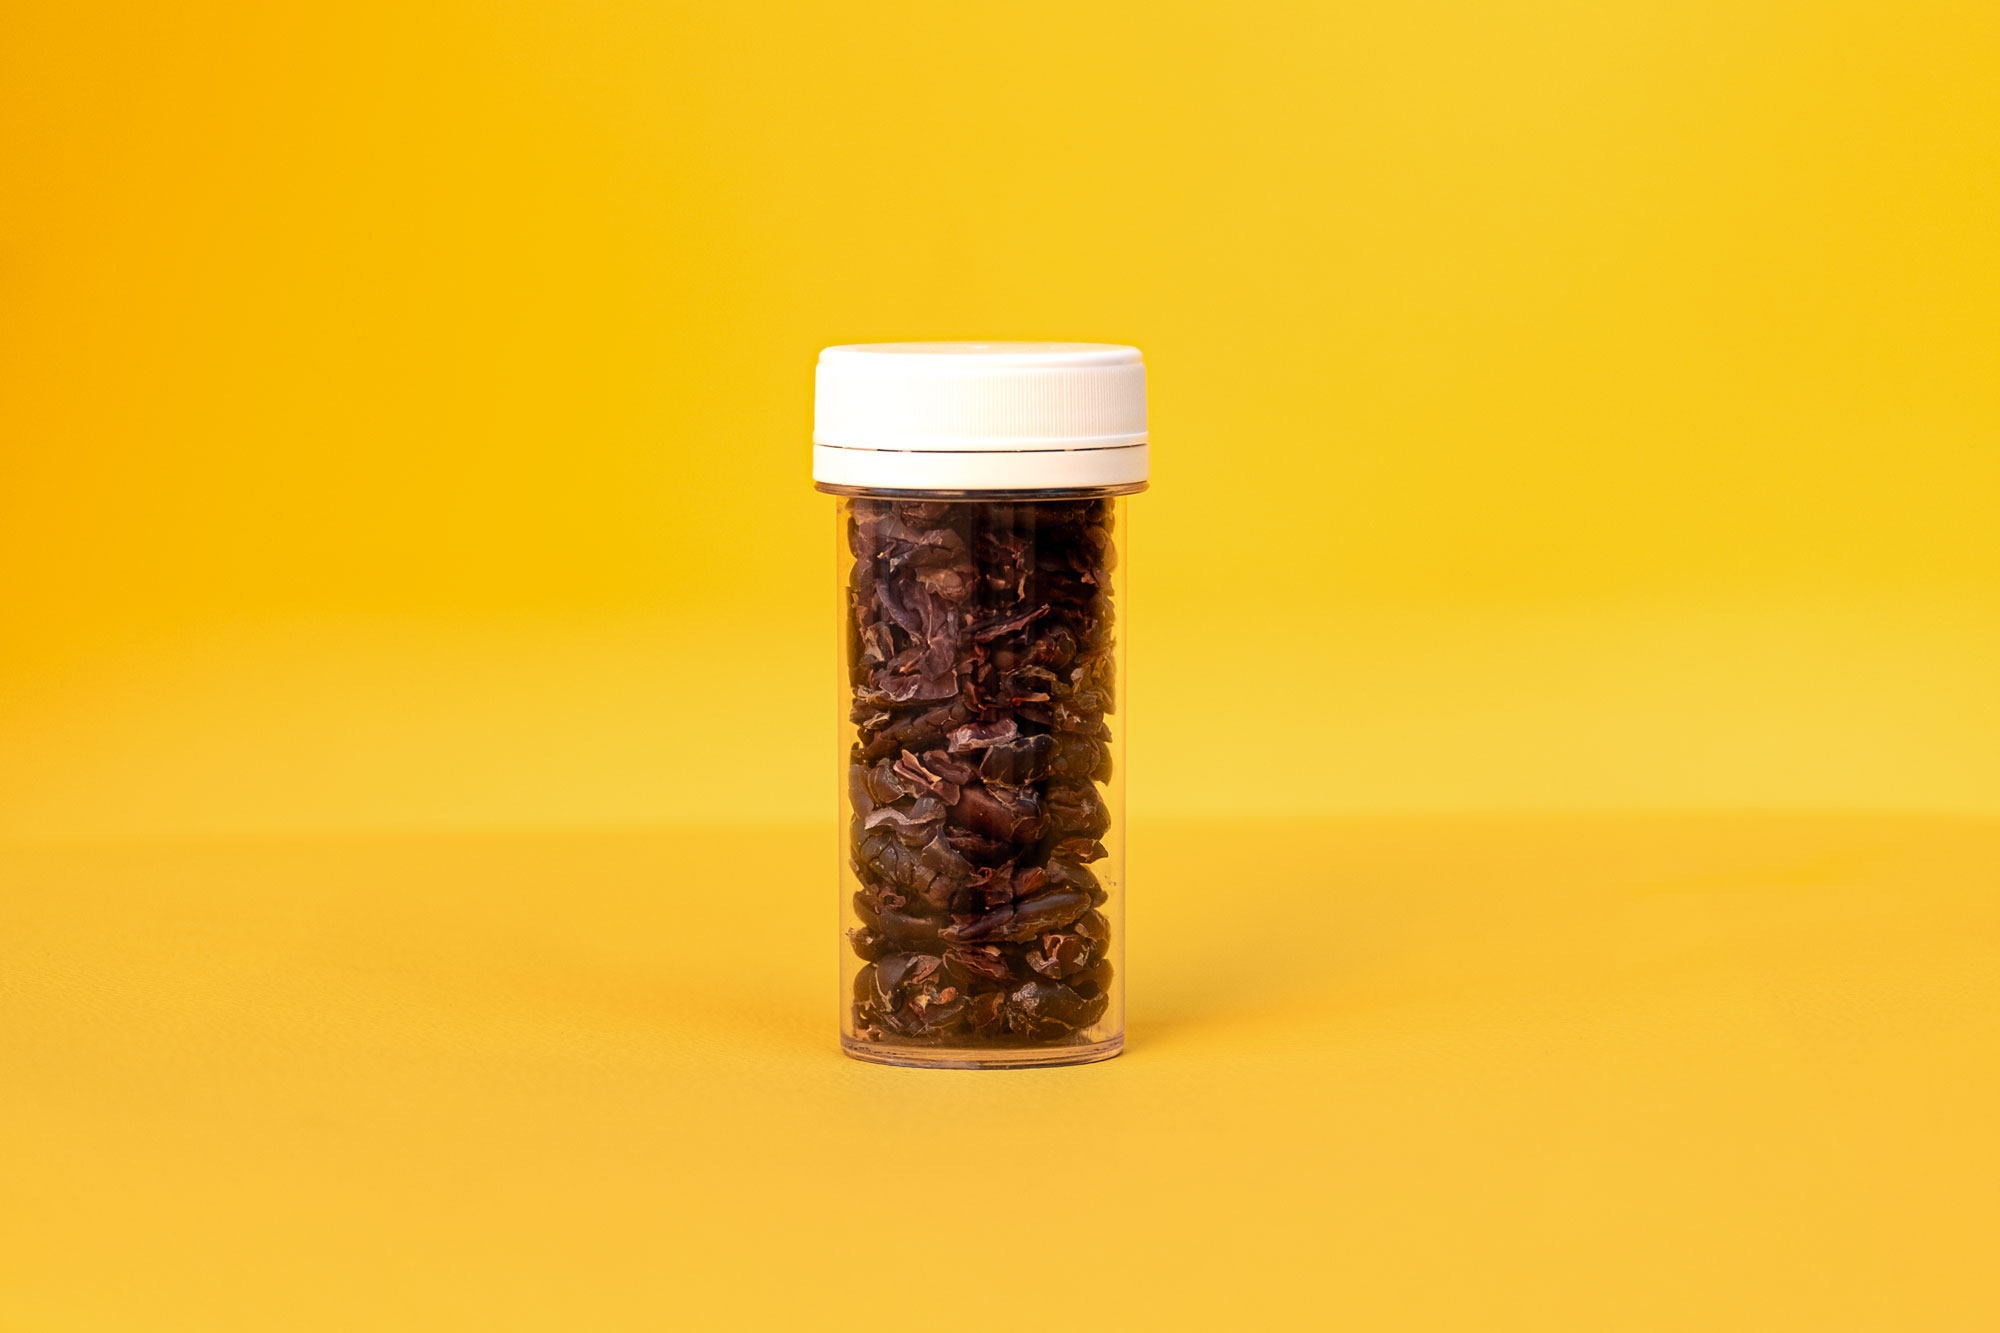
Once you’ve separated the nibs, they’re ready to be enjoyed or incorporated into recipes. To keep them fresh, store the cacao nibs in an airtight container in a cool, dry place.